Made in America
Get Connected With



Choosing the right repair coupling is rarely a simple matter of matching pipe diameter. A leaking line may look manageable from the outside, while corrosion has already reduced the wall beneath the clamp. Pressure, pipe material, temperature, surface condition, and movement all influence the decision. A coupling that fits neatly may still fail under vibration or thermal expansion.
George A. Antaki, PE, a respected pipeline integrity engineer and author, captures this concern clearly: “A repair is only as reliable as the defect assessment behind it.” His point deserves attention. Before selecting a repair coupling, technicians should measure the actual outside diameter, identify the defect type, confirm operating pressure, and review the manufacturer’s load and sealing limits. Field experience also matters. Mud, standing water, damaged coatings, and limited working space can change an otherwise suitable installation.
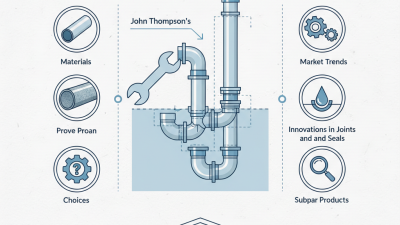
The following seven tips explain how to compare materials, sealing systems, pressure ratings, installation methods, and long-term maintenance requirements. They also address a common mistake: choosing the cheapest product before understanding the failure. That approach can create repeat leaks, extra shutdowns, and unsafe working conditions. Small details matter.
Still, no checklist replaces professional judgment. Some recommendations may need adjustment after inspection. A coupling designed for a straight, clean pipe may perform poorly on an oval or heavily pitted surface. Confirm the manufacturer’s technical data and applicable engineering requirements before installation. Reliable repair begins with careful observation, not confident guessing.
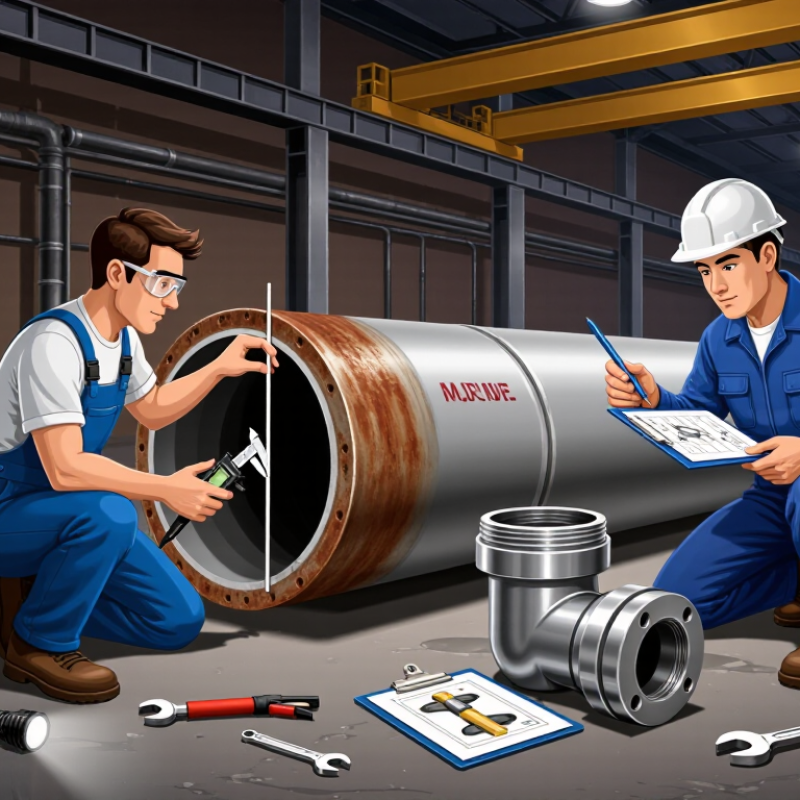
Before comparing repair couplings, identify the exact job they must perform. A leaking water line needs a different solution from a clean pipe separation. Measure the outside diameter, not only the nominal pipe size. Record the pipe material, wall condition, pressure, temperature, and available working space. These details determine the coupling’s sealing range and mechanical requirements. Everything changes in a narrow trench.
In field repairs, I have seen reliable products fail because the application was defined too loosely. A coupling installed on pitted steel may need wider sealing tolerance or careful pipe-end preparation. For buried lines, check soil movement, groundwater, and external loading. For exposed systems, consider vibration, thermal expansion, and accidental impact. If the pipe must remain pressurized, confirm whether the coupling is designed for live repair. Do not guess. Check operating pressure against the technical datasheet, not a sales description.
Select a model rated for the actual service, including fluid compatibility and temperature limits. Potable water, wastewater, irrigation, and industrial fluids may require different sealing materials. Verify dimensions and installation torque using technical instructions or qualified engineering advice. A torque wrench and clean pipe surface often decide reliability. After installation, perform the specified pressure or leak test before restoring the trench. I still question rushed repairs; a coupling can stop a leak while hiding a damaged pipe section. Document the defect and inspect nearby joints when access allows.
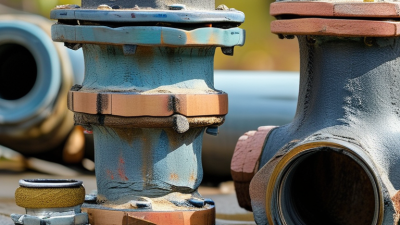
Measure the pipe’s actual outside diameter before choosing a repair coupling. Nominal sizes can vary between pipe materials and production standards. Measure twice. Compare the result with the coupling’s approved size range, not only its label. A loose fit may leak, while an oversized coupling can shift under pressure.
Identify the pipe type, such as steel, ductile iron, PVC, or another approved material. Each material needs suitable gaskets, sleeves, and sealing pressure. Do not guess. Check the operating pressure, temperature, fluid, and installation environment. Corrosive soil or outdoor exposure may require more durable components. In field inspections, surface rust and damaged pipe ends often complicate installation. Clean the pipe, remove sharp edges, and leave enough space for the coupling to seat evenly.
Choose the connection method carefully. A mechanical coupling may suit a stable pipe section, while a restrained design helps control axial movement. Compression connections can simplify urgent repairs, but they still require correct alignment and tightening. Follow the specified bolt sequence and torque. Hand-tightening is unreliable. Test the repaired section slowly and inspect every seal. Fit matters. One practical lesson deserves attention: buying the cheapest coupling can create extra labor when the pipe type or connection method was misunderstood. Recheck those details before ordering.
A repair coupling must match the pipe’s real operating conditions, not only its measured diameter. Check the working pressure, surge pressure, and possible pressure changes during pump startup. A coupling rated for normal flow may fail during a sudden pressure spike. Leave a sensible safety margin. Guessing here is expensive.
Temperature changes affect sealing performance and body strength. Confirm the minimum and maximum service temperatures, including short-term extremes. Hot fluids can soften some gasket materials, while freezing conditions may reduce flexibility. Ask whether the rating applies to continuous service or brief exposure. That detail is often missed.
Material compatibility deserves equal attention. Compare the coupling body, gasket, fasteners, and pipe with the transported fluid. Water, chemicals, oils, and wastewater can produce very different reactions. Check for corrosion, swelling, brittleness, and galvanic contact between dissimilar metals. I once focused too much on pressure and overlooked a gasket’s chemical limitation. The installation held, but the seal degraded earlier than expected. Review the pipe surface, outside diameter tolerance, and available repair space before ordering. A coupling that fits on paper may not clamp evenly in the field. Verify technical data with the supplier or a qualified engineer, and keep the inspection records.
Pressure, temperature, and material compatibility should be checked together before selecting a repair coupling. The chart shows typical continuous temperature envelopes for common seal materials; actual limits depend on the coupling design, fluid, pressure, and manufacturer specifications.
A repair coupling should be judged by more than its listed diameter. Sealing performance depends on pipe condition, pressure, temperature, and movement. Check whether the gasket matches the conveyed fluid and operating temperature. A flexible gasket can accommodate small surface irregularities, but it cannot repair a deeply damaged pipe. Inspect the sealing zone carefully before installation. Clean metal, remove loose scale, and measure the pipe outside diameter at several points.
Tip 1: Compare sealing design, not just gasket thickness. A wider sealing area may handle minor ovality better. Confirm the coupling’s pressure rating under real service conditions. Laboratory figures can look impressive, yet field conditions are less predictable. I once saw a leak develop because the pipe was more oval than expected. That detail was missed during measurement.
Tip 2: Examine durability through materials and movement control. Stainless or coated hardware can resist corrosion, while a robust housing should tolerate vibration and thermal expansion. Check whether the coupling allows axial movement or requires restraint. Tip 3: Review installation features before purchase. Clear torque guidance, visible alignment marks, and accessible bolts reduce mistakes in narrow trenches. Measure twice. Tighten evenly. Over-tightening may damage the gasket, while insufficient torque can create a slow seepage. A practical inspection plan should include a pressure test and a second visual check after the system operates.
| Tip | Evaluation Dimension | What to Check | Typical Selection Benchmark | Why It Matters |
|---|---|---|---|---|
| 1 | Sealing Performance | Inspect gasket profile, compression method, sealing range, and resistance to pressure cycling. | Choose a gasket that covers the actual pipe outside-diameter range and remains compressed after installation. A restrained or bolted design is generally preferable for pressurized lines. | Correct gasket compression reduces leakage caused by surface irregularities, vibration, and thermal movement. |
| 2 | Pipe Diameter Tolerance | Compare the coupling’s stated outside-diameter range with the measured diameter of both pipe ends. | Measure each pipe at several points; do not rely only on the nominal pipe size. Select a coupling whose published range covers the largest measured variation. | Nominally identical pipes can have different outside diameters because of material standards, wall thickness, coatings, or corrosion. |
| 3 | Pressure and Temperature Rating | Verify working pressure, test pressure, fluid temperature, surge conditions, and the applicable pipe-system standard. | Use the coupling’s rated working pressure—not only its test pressure—and apply any required reduction for elevated temperature or aggressive fluids. | A coupling suitable for static water service may not be suitable for pressure surges, hot fluids, chemicals, or compressed gases. |
| 4 | Material and Fluid Compatibility | Check gasket elastomer, sleeve material, bolt material, coating, and compatibility with the conveyed fluid and pipe materials. | EPDM is commonly used for water applications, while NBR is commonly selected where oil resistance is required; confirm the actual chemical and temperature limits before purchase. | Chemical swelling, embrittlement, galvanic corrosion, or coating failure can shorten service life and compromise the seal. |
| 5 | Durability and Corrosion Protection | Review sleeve construction, bolt grade, protective coating, environmental exposure, and accessibility for inspection. | Use corrosion-resistant or suitably coated metal for buried, wet, coastal, or chemically exposed installations; avoid mixing incompatible metals without an approved isolation method. | Corrosion can reduce bolt preload, damage the sleeve, and create leakage paths even when the initial installation is correct. |
| 6 | Installation Features | Compare bolt access, allowable pipe-end separation, angular adjustment, torque requirements, and whether the line must be fully depressurized. | For restricted work areas, select a design with accessible bolts and a documented tightening sequence. Flexible designs commonly accommodate limited angular or axial movement, but the exact allowance is size- and model-dependent. | Clear installation instructions and accessible fasteners reduce fitting errors, uneven gasket compression, and maintenance time. |
| 7 | Restraint, Movement, and Inspection | Determine whether the joint must resist axial pipe pullout, vibration, thermal expansion, or pressure thrust. | Use a restrained coupling or separate thrust-control system where axial movement is possible. After installation, inspect bolt torque, gasket position, alignment, and leakage during commissioning. | A flexible seal alone does not necessarily prevent pipe separation; movement control must match the pipeline design. |
Tip: Verify standards before comparing prices. A repair coupling must match the pipe’s outside diameter, material, pressure rating, and operating temperature. Check current engineering standards and local installation requirements. Request dimensional drawings, pressure-test records, and material certificates. A familiar-looking coupling may still fit poorly. Measure the pipe on site, especially where corrosion has reduced its diameter.
Tip: Study maintenance needs, not just installation speed. Inspect the gasket material, bolt access, tightening method, and expected service environment. In wet trenches, corrosion-resistant hardware can reduce future work. Leave enough clearance for inspection tools and safe retightening. Keep spare seals available if the pipeline is critical. Small details matter.
Tip: Calculate total purchase value. Include labor, shutdown time, equipment access, inspections, replacement parts, and possible leakage costs. A lower purchase price may create expensive installation delays. During one site review, the cheapest option required extra pipe preparation and longer isolation time. That mistake changed the real cost. Compare the complete maintenance cycle, not only the invoice. Also question unclear warranties and unsupported service-life claims. Reliable suppliers should provide traceable documentation and practical installation guidance.